A Waterfall and Good Fishing on Clear Creek
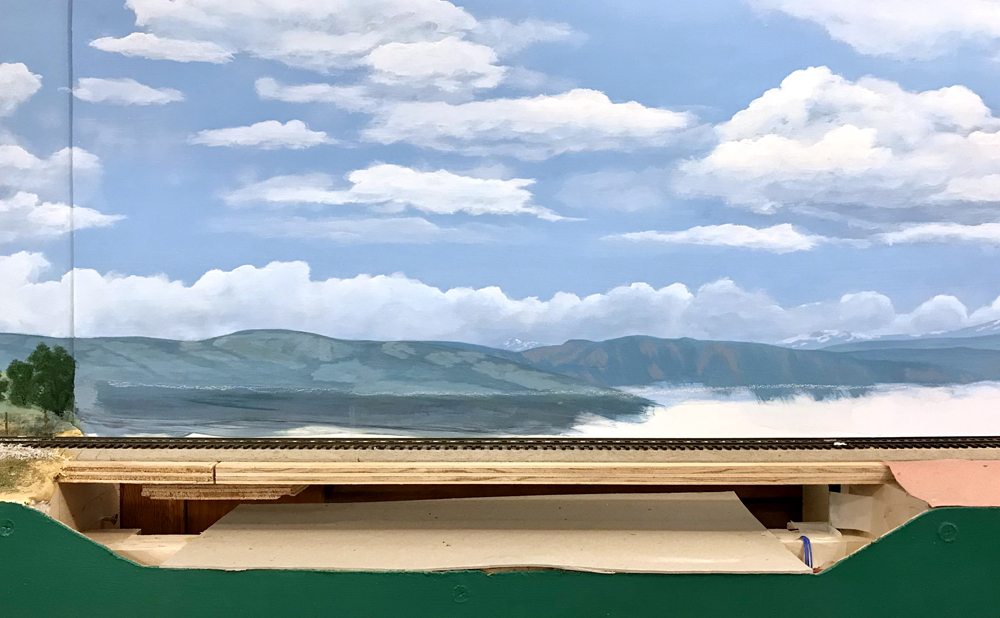
In the beginning, backdrop painted sky and land above the horizon (marked with a chalk line) and the fascia are complete. Half-inch plywood and homosote span the future creekbed. To the right is the red rosin paper that I hot glue between the subroadbed and the fascia or backdrop as landform. The only mountains on this layout are on the backdrop.

Track and roadbed have been carefully cut away. In preparation for epoxy resin water, I secured a perfectly level plywood platform and caulked the front edge to the fascia. I added styrene to bring the backdrop down to the platform. I built the bridge and its components with the methods described in my March 2016 Model Railroader article.
I compressed this bridge to 5 spans from the 8 of the prototype. With the bridge deck temporarily in place, I shimmed the abutments and piers to the deck bottom with scrap styrene and wood. CA glue holds them in place.
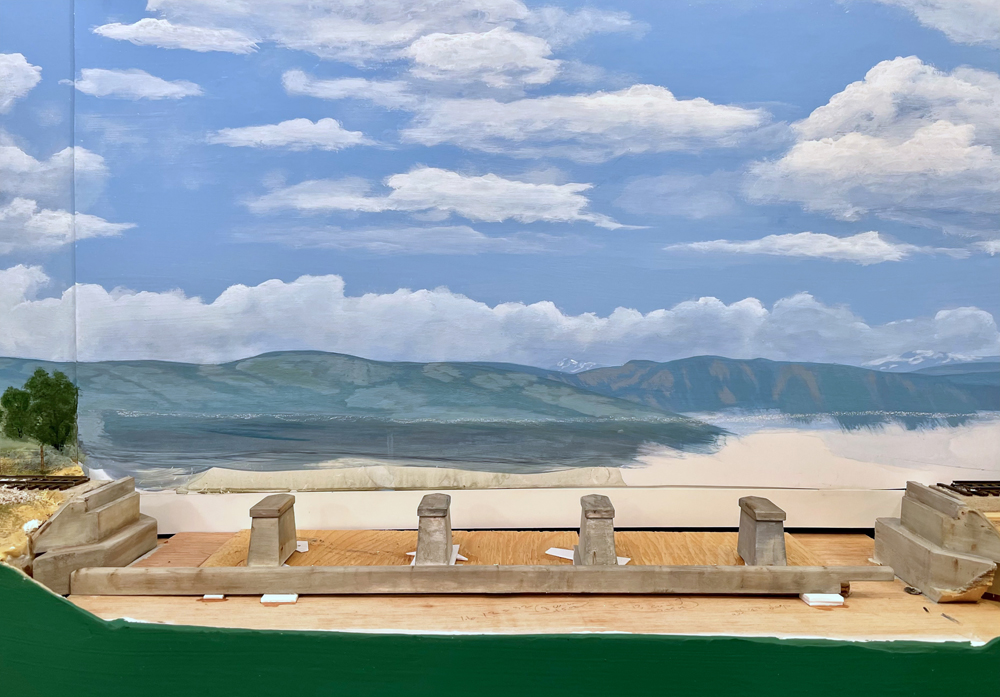
I cut, painted, and weathered the abutment shims to match the abutments. The weir was shaped from styrene, finished to match, then shimmed in place as well. The weir is a touch lower at the left so the water pour will meet the top at that end for the waterfall.
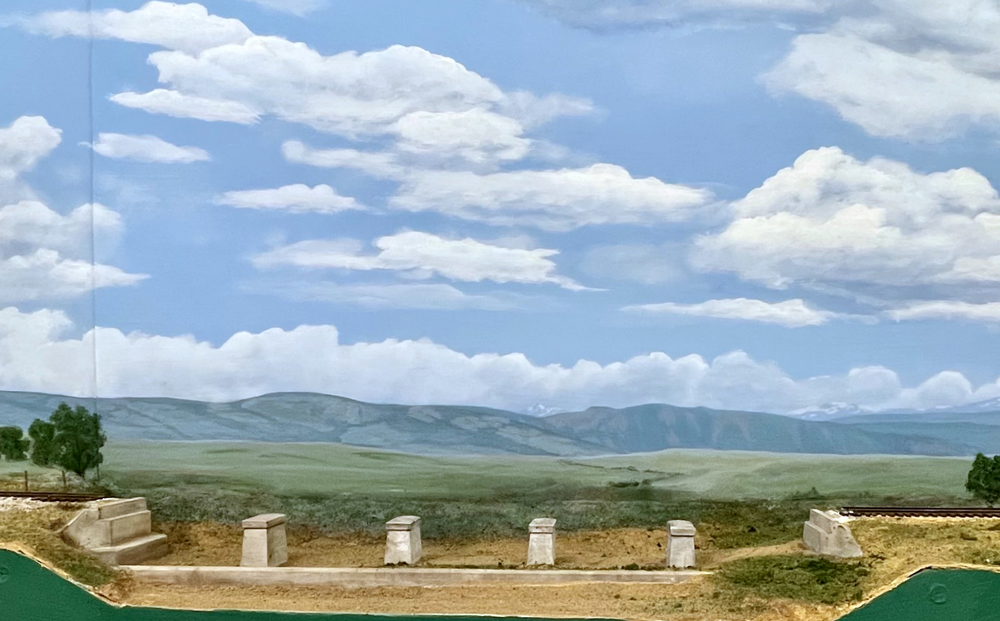
I caulked fillets between the backdrop, base, and concrete elements, and sealed the rosin paper with full-strength yellow glue. I applied a coat of my earth color acrylic paint and sifted on dirt while wet. I painted the rest of the backdrop and added ground foam.
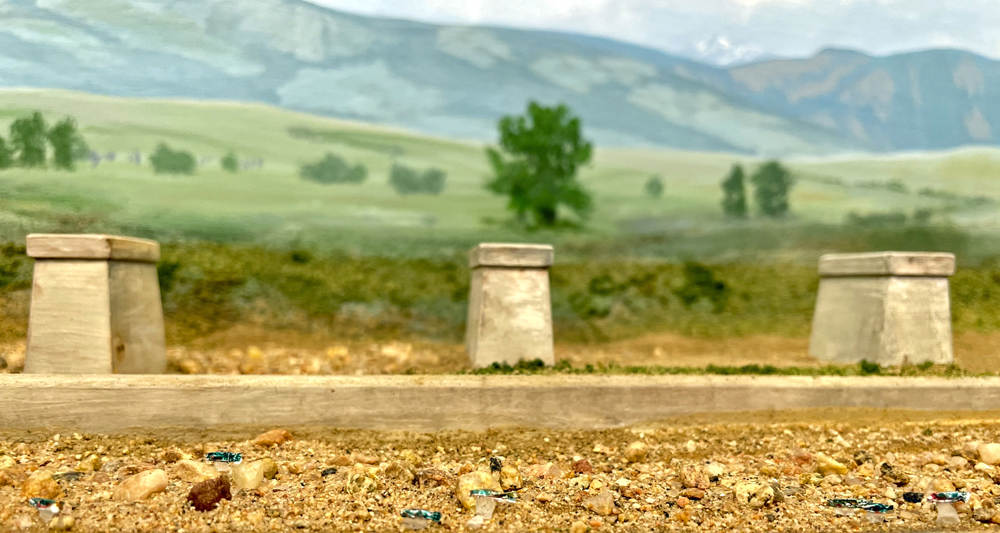
The streambed is finished with an assortment of small gravel and sand. I painted bits of foil to resemble cutthroat trout and glued them onto pylons fashioned from dry CA glue. Luke Towan demonstrates this technique with Alaskan salmon in a great YouTube video.
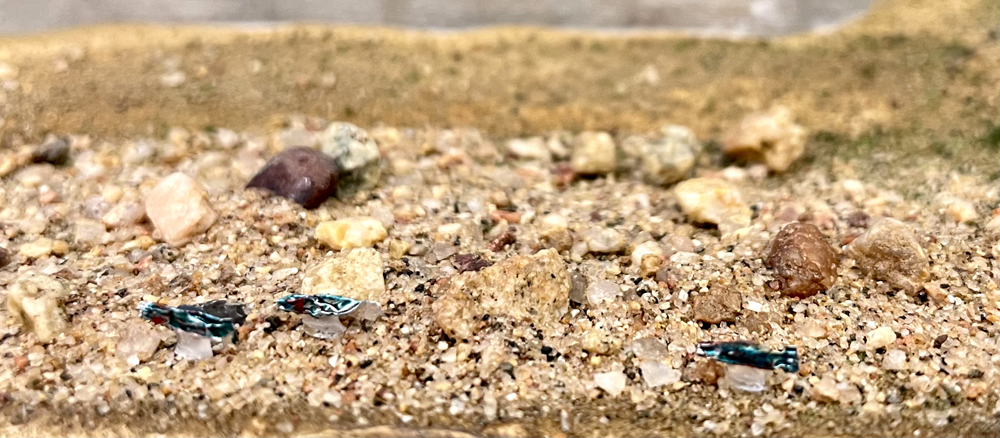
Here is a fishy closeup. You can barely see the suporting pylons, and after the epoxy pour, they just disappear.
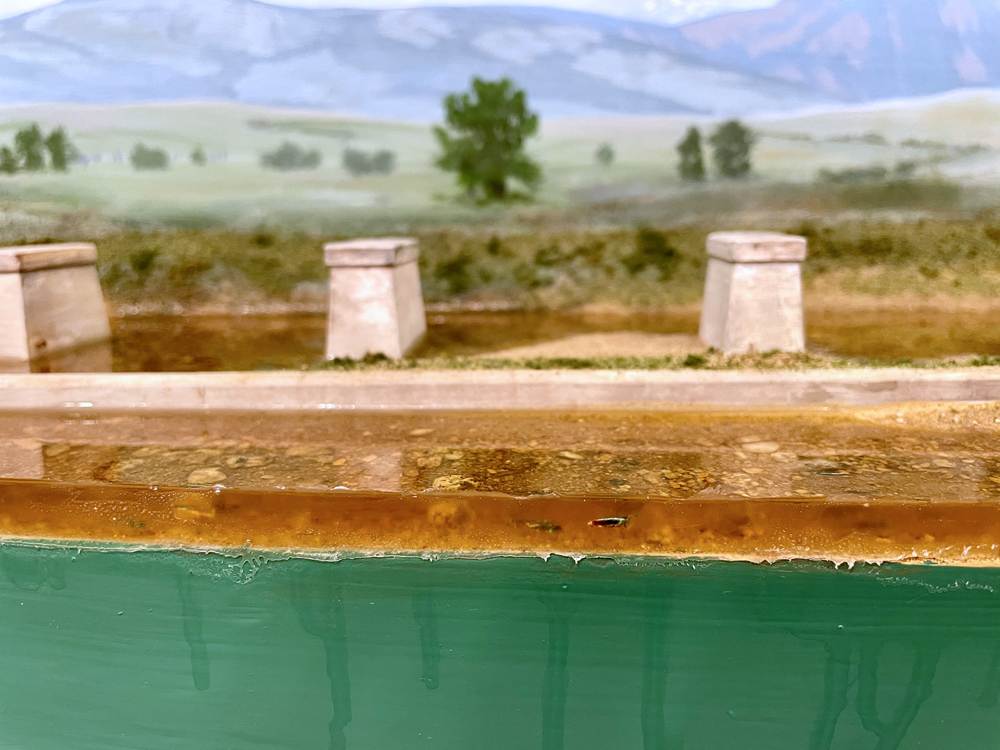
I built a styrene dam along the fascia and used clear caulk to seal the bottom. I mixed the two-part epoxy, lightly tinted it with brown acrylic paint, and then poured above and below the weir. The next day, the trout look great, but I did have to touch up the fascia.
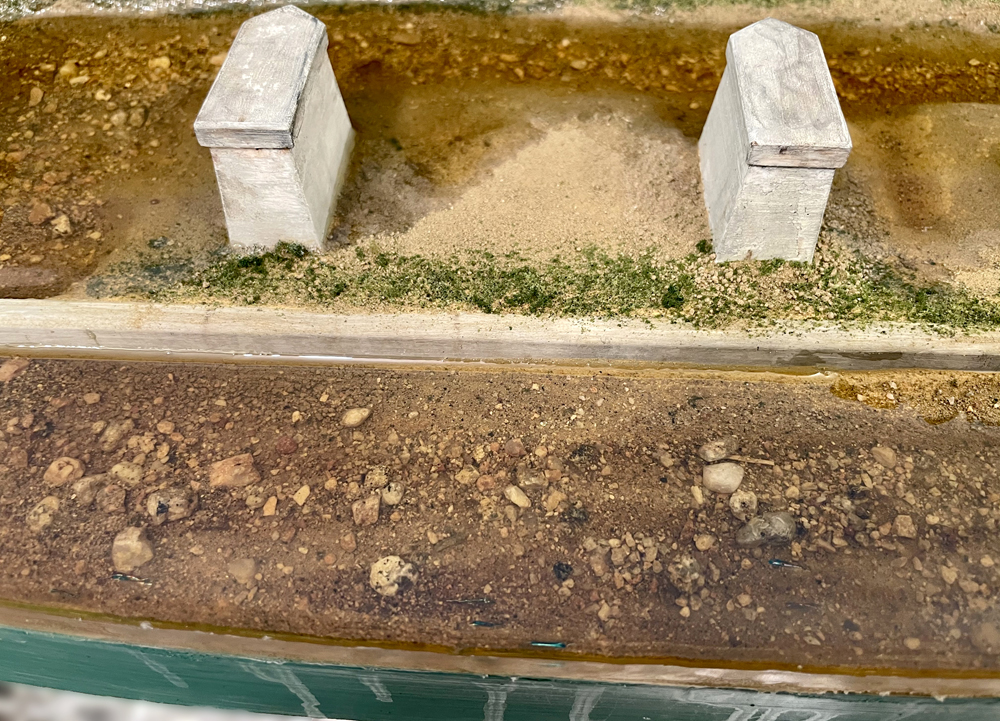
Here's a top view of Clear Creek and the trout — a very nice result.
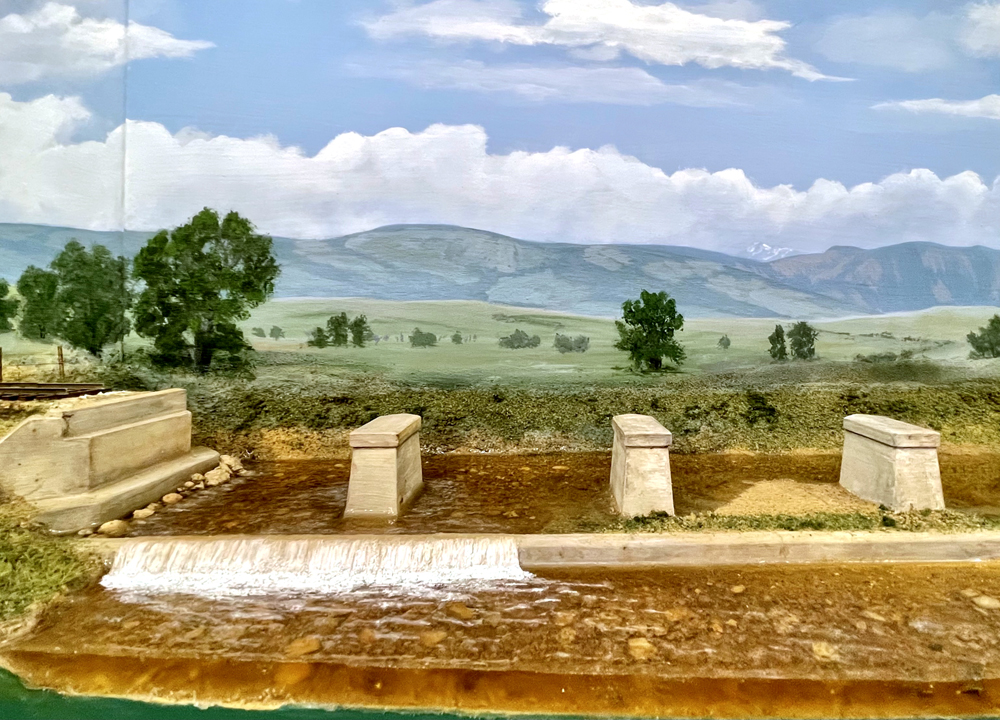
The weir waterfall is made with clear food wrap, trimmed and glued in place, then painted with gloss acrylic medium and streaked with white paint. Gloss acrylic medium and white paint created the stream turbulance too.
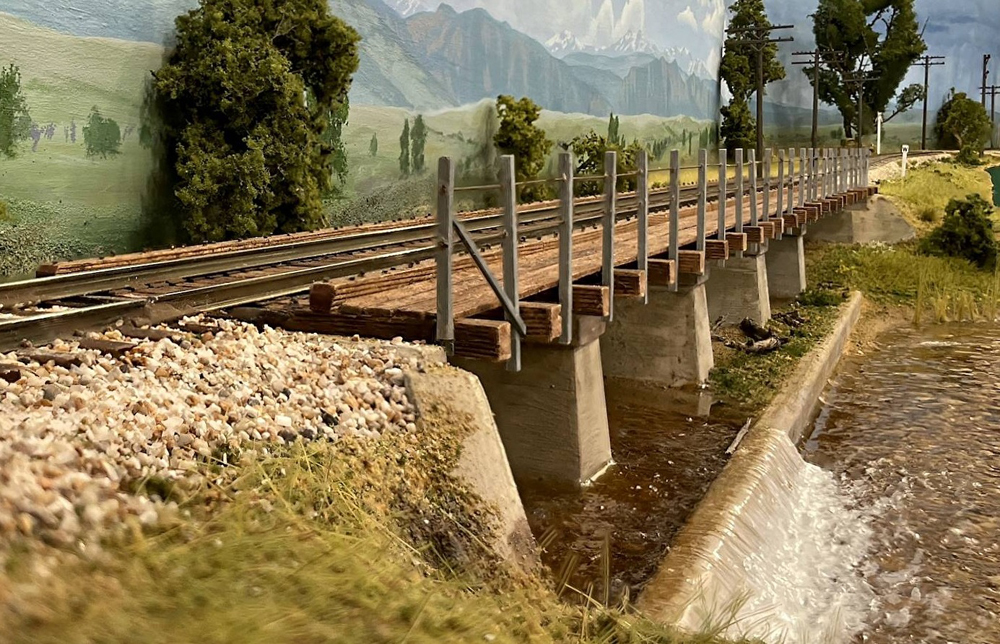
With the bridge deck in place and railing installed, here is the final scene. All-in-all, a very satisfying result.